
HUGE mistake.
Out like a light... for 5 HOURS
Unfortunately I'm having more and more of these "crash" days.
It's not like my to-do list is that unreasonable right?
• Plan a wedding for 130 people under $10,000.00 (That means a lot of DIY and searching, searching, searching.)
• Buy a home this winter (we're still awaiting our preapproval letter) for under $300,000 in the DC metro area so future hubby can get to work in the city for under an hour, has good public schools for future baby, is safe, has some sort of yard)
• Complete training to make Remi a therapy dog with Pet Partners - then volunteer with him as a therapy dog handler within the next six months.
• Build a barn on my parent's farm for future horse. Within the next year, fingers crossed.
• Launch redesign of Decorology (that's right - it's going to look WAY better soon) and hopefully grow Decorology. Within six months.
• Launch redesign of ashleywhitedesign.com (it's always one's own projects that come last) and continue to grow my web design business. Within six months.
These are just my priority items.
Okay, so maybe I take on more than I can chew, but who doesn't really? Everyone is insanely busy, and I don't have children yet, so I don't really feel like I have the right to complain yet... sigh. Luckily, everything on my to do list are things I am excited about and looking forward too, I just need waaayyy more hours in each day...
Serenity now.
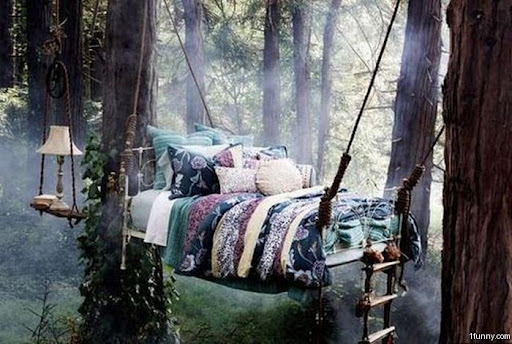


via Pinterest


You have read this article beach tent /
nature /
personal /
pool /
serenity /
treehouse
with the title
. You can bookmark this page URL http://bellashabby.blogspot.com/2012/11/total-crash-day.html. Thanks!


